If you're a poultry enthusiast looking to hatch your own chicks, making a chicken incubator at home can be a rewarding and cost-effective option. Building your own incubator allows you to customize it to suit your specific needs and provides a hands-on approach to the incubation process. In this blog post, we will guide you through the step-by-step process of creating a functional and efficient chicken incubator using easily accessible materials. Get ready to embark on an exciting journey of hatching your own chicks right from the comfort of your home!
1. Gather the Materials
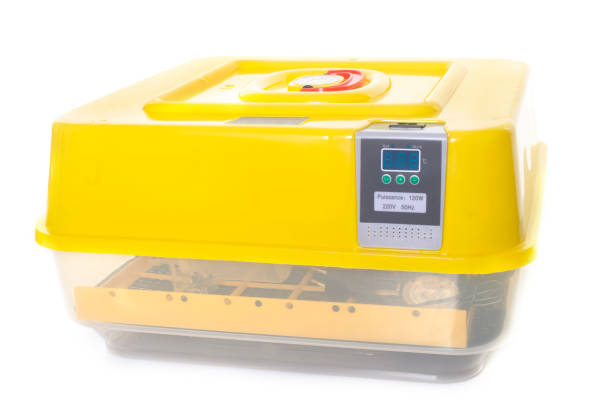
- A large foam cooler: Choose a foam cooler that can accommodate the number of eggs you plan to incubate. Ensure it has a secure lid to retain heat and humidity.

- Heat source: You can use either a heat lamp or an incandescent bulb as the heat source. Select a reliable option that can maintain a consistent temperature within the incubator.

- Thermostat: A thermostat is crucial for accurately controlling the temperature inside the incubator. Look for a thermostat that is suitable for your chosen heat source.
- Thermometer and hygrometer: These instruments will help you monitor and maintain the temperature and humidity levels within the incubator.

- Egg tray or racks: Select an egg tray or rack that fits inside the cooler and can securely hold your eggs during incubation.

- Water container: You'll need a shallow container to hold water to maintain humidity within the incubator.
- Ventilation materials: Ensure proper ventilation by gathering materials like screens or mesh to cover the ventilation holes.
2. Prepare the Cooler
- Choose a location: Find a suitable location for your incubator that is away from direct sunlight, drafts, and temperature extremes.
- Create ventilation holes: Using a sharp knife or hole saw, carefully create ventilation holes in the sides or top of the cooler. Ensure the holes are covered with mesh or screens to prevent unwanted pests or debris from entering.
- Cut out a window: On the lid of the cooler, cut out a rectangular window, leaving a border around the edges. This will serve as your viewing window to observe the hatching process.
3. Install the Heat Source and Thermostat
- Position the heat source: Place the heat lamp or hang the incandescent bulb inside the cooler, making sure it's positioned at one end. This will create a temperature gradient within the incubator.
- Connect the thermostat: Install the thermostat according to the manufacturer's instructions, ensuring it is compatible with your chosen heat source. The thermostat will regulate the temperature by turning the heat source on and off as needed.
- Attach the thermometer and hygrometer: Place the thermometer and hygrometer inside the incubator, positioning them at egg level. This will allow you to monitor the temperature and humidity accurately throughout the incubation process.
4. Set Up the Egg Tray and Water Container
- Place the egg tray or racks: Position the egg tray or racks inside the cooler, ensuring they are stable and can securely hold the eggs. Leave enough space between the eggs for proper air circulation.
- Add water container: Fill a shallow container with water and place it within the incubator. The water will provide moisture and maintain humidity levels necessary for the incubation process.
5. Monitor and Adjust Temperature and Humidity
- Monitor temperature: Regularly check the thermometer reading and maintain a consistent temperature within the desired range for the specific chicken breed you are incubating. Depending on the breed, the temperature should typically range between 99°F to 101°F (37°C to 38°C).
- Adjust heat source and thermostat: Make any necessary adjustments to the heat source and thermostat to maintain the desired temperature. Gradual adjustments are recommended to avoid sudden temperature fluctuations.
- Maintain humidity: Check the hygrometer reading and ensure the humidity stays within the recommended range for your chicken breed. Generally, humidity levels should be kept around 50% during the first 18 days of incubation and increased to 65% to 70% during the final days leading up to hatching.
- Water maintenance: Monitor the water container inside the incubator and refill as necessary to maintain the desired humidity level. Adding warm water can help stabilize the temperature within the incubator.
6. Egg Rotation and Candling

- Egg rotation: Turn the eggs at least three to five times a day to ensure proper development. Mark one side of the egg with an "X" and the other side with an "O" to keep track of the rotation.
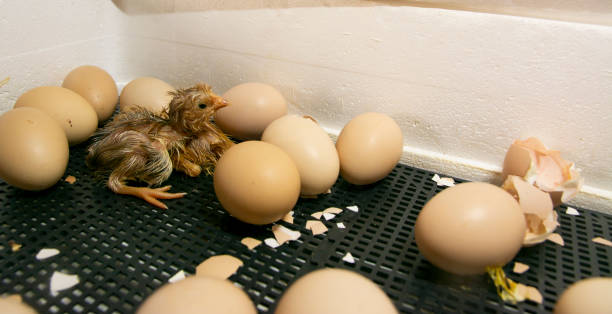
- Candling: Around day 7, use a bright light source, such as a flashlight, to candle the eggs. Hold the light against each egg to check for signs of embryo development. Remove any infertile or non-viable eggs to promote healthy hatch rates.
Summary
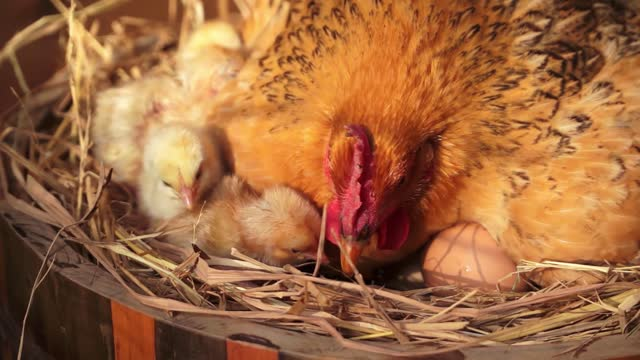
By following this DIY guide, you can create a functional and efficient chicken incubator right in your own home. Remember to monitor and maintain the temperature and humidity levels consistently, provide proper ventilation, and ensure regular egg rotation and candling. Building your own chicken incubator not only saves you money but also allows you to take an active role in the incubation process. So enjoy the journey of hatching your own chicks and witness the incredible transformation from an egg to a fluffy chick right before your eyes. Happy incubating!
Leave a comment
All comments are moderated before being published.
This site is protected by hCaptcha and the hCaptcha Privacy Policy and Terms of Service apply.