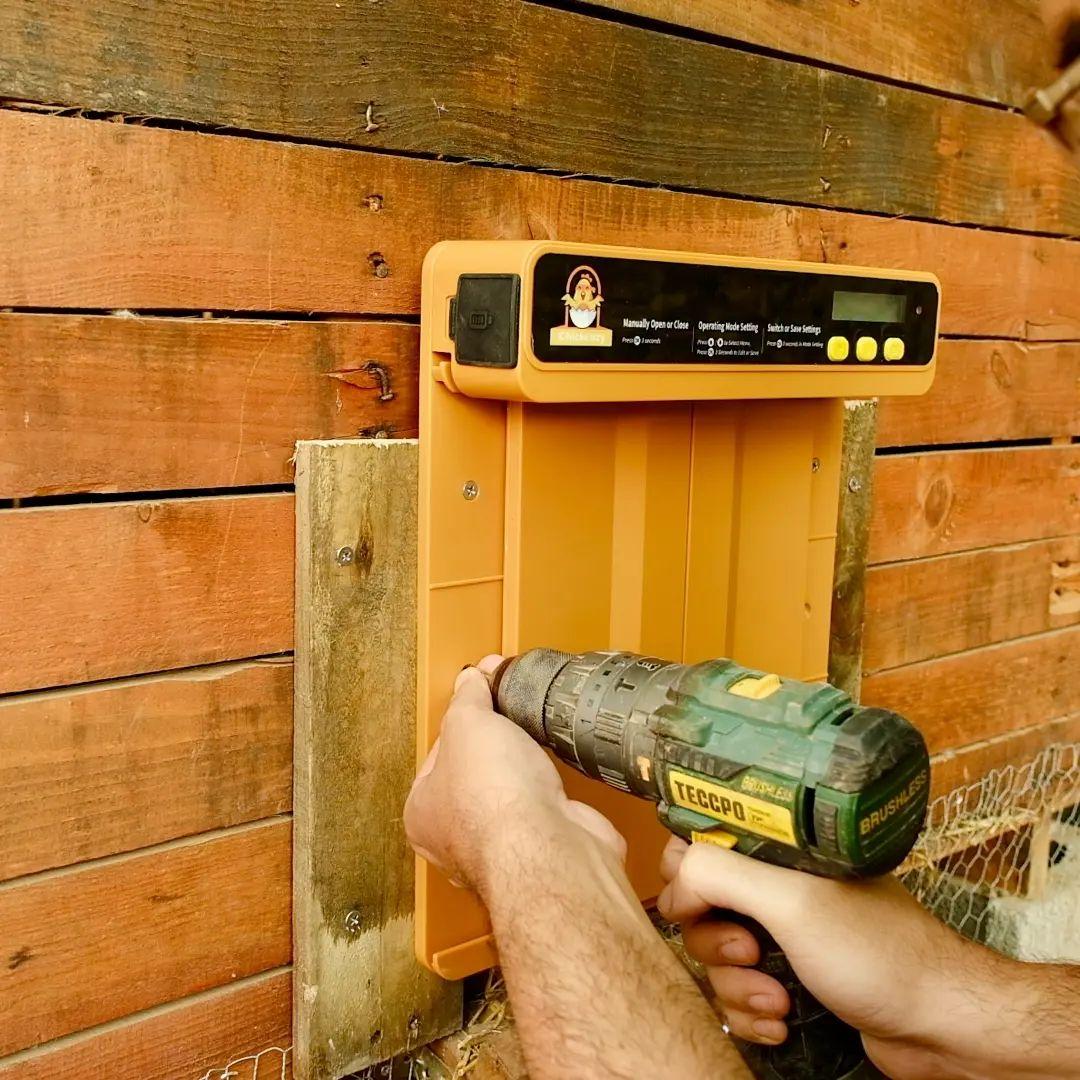
When the automatic chicken coop door is designed with more and more features, a correct installation step is very important, otherwise, the door might show issues and not function correctly.
Step one: Installation

Make sure the surface is flat, do not install the automatic chicken door on an inflated surface.

Before installing the Chickcozy automatic chicken coop door to your chicken coop, please make sure the hole size is 8.15"W x 10.4"L, and the auto chicken door needs a 16.7"W x 13.9"L, this is the size when the automatic chicken coop door is fully open.

The automatic chicken coop door should be installed flat. The door and bottom track may rub if the door was uneven.
Note:
Align doors and planks horizontally
Make sure these 6 screws are flat, otherwise it will block the door from opening.

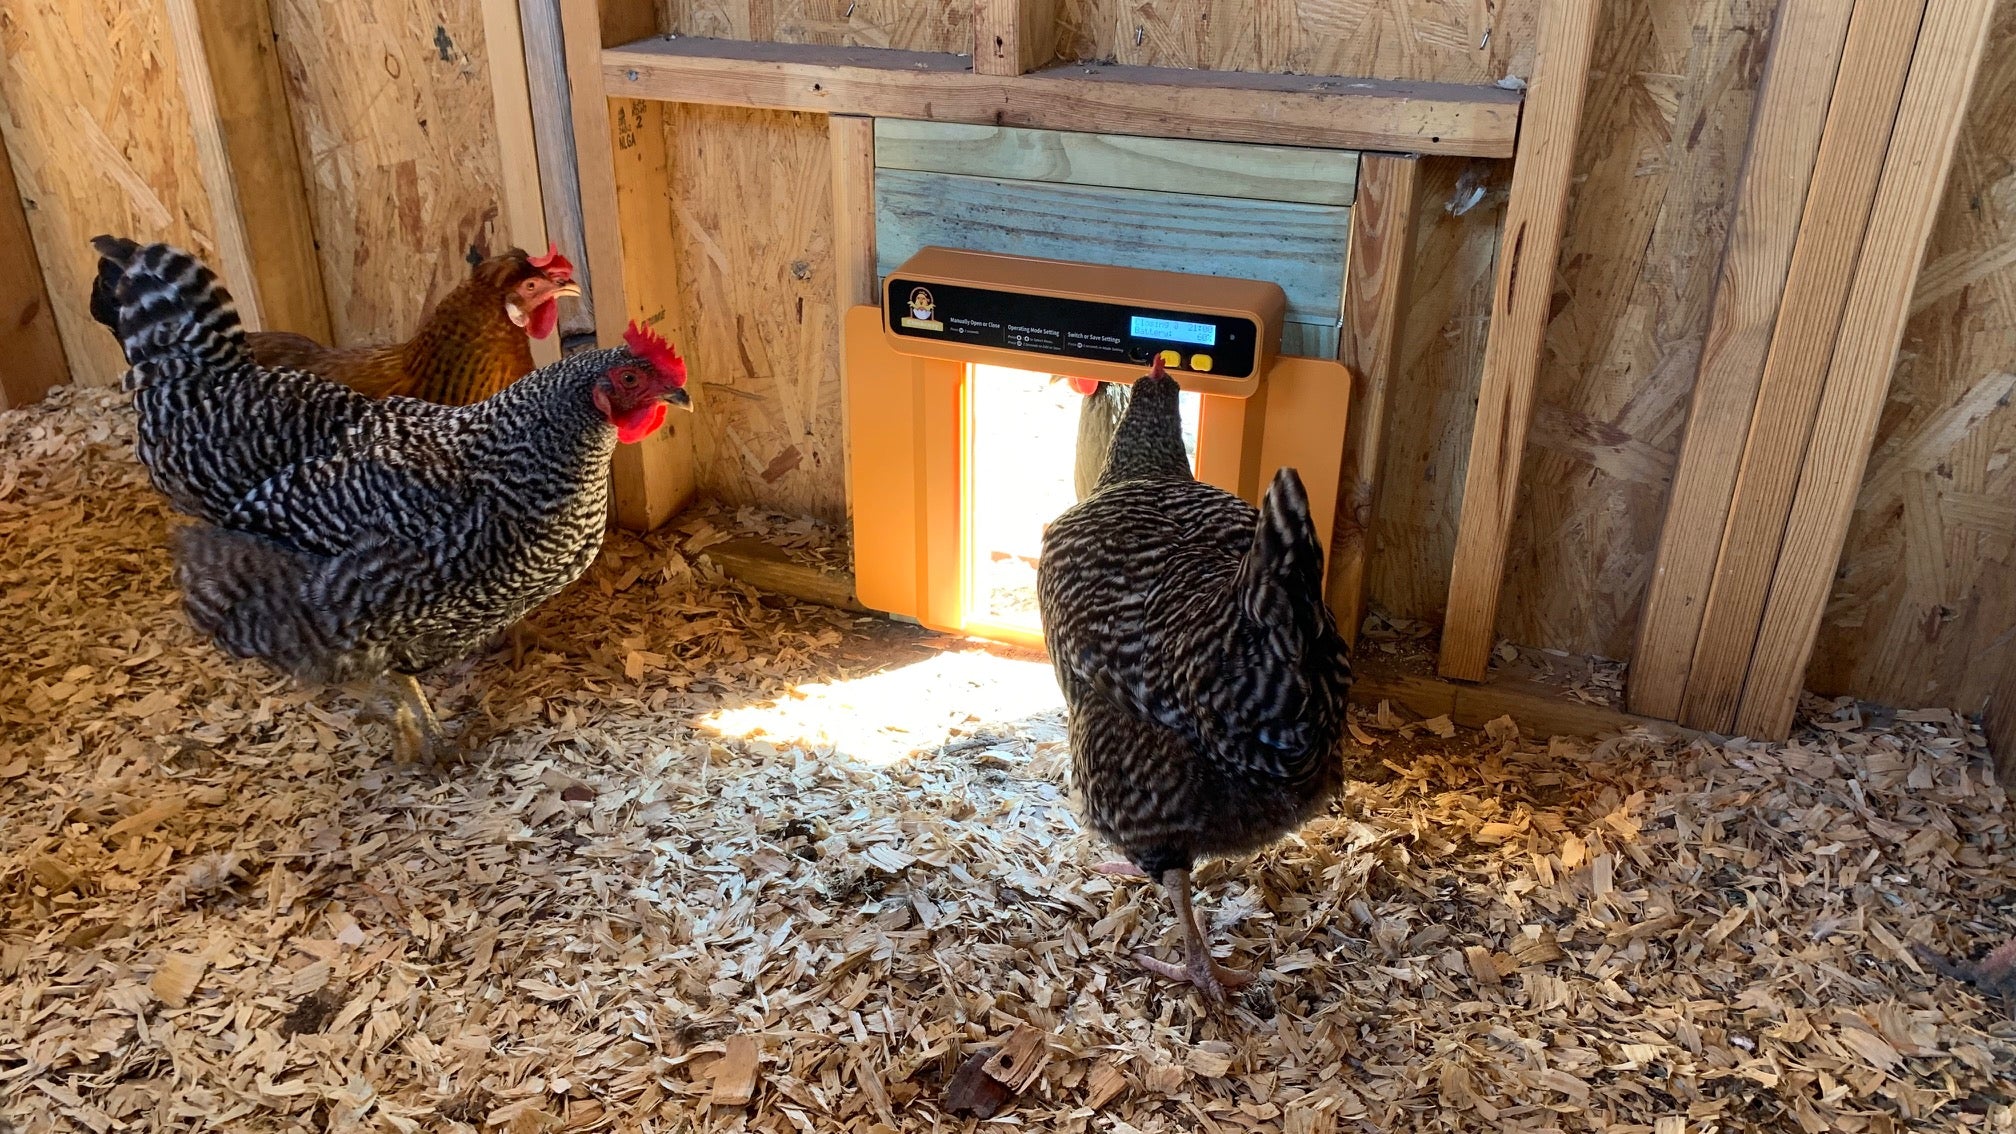
Step Two: Power on the auto chicken door
Now you had installed the automatic chicken coop door correctly, let's put the battery set in and power on the automatic chicken coop door.
Once the automatic chicken coop door is on, the screen shows 'CHICKCOZY AUTO DOOR', you can press the OK button to skip, and now you will see when will the door open, the default setting is the light mode, and the screen is showing 'Open @ 6'.
Step Three: Calibration process
Press and hold the OK button for 5 seconds to start calibrating process, do not interfere during this process, the door will open and close automatically three two four times to finish the calibration process.
After the calibration process is done, the door will stay open.
The purpose of this process is to let the door learn and calculate the time it takes to open and close.
Step Four: Manually open and close
Now we suggest you manually open and close the door twice, by pressing and holding the OK button for 5 seconds.
Step Five: Setting
When you finished all four steps above, you can start setting the mode you like and when to open and close.
Here is a video for you to walk through it step by step.
Thanks for reading.
Leave a comment
All comments are moderated before being published.
This site is protected by hCaptcha and the hCaptcha Privacy Policy and Terms of Service apply.