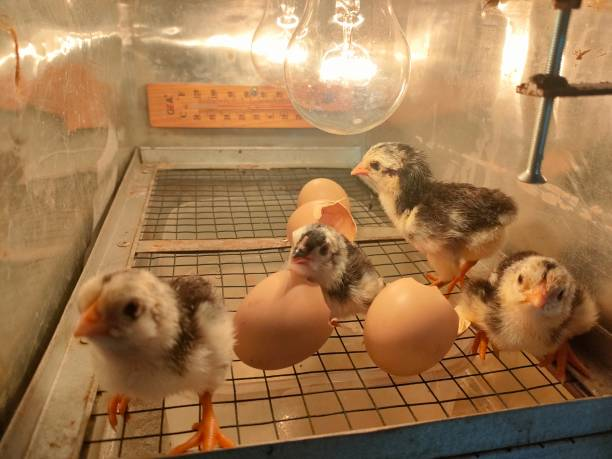
The joy of witnessing eggs successfully hatch into adorable chicks is a rewarding experience for poultry enthusiasts. Careful attention must be given to various factors throughout the incubation process to achieve the highest hatching rate. In this blog post, we will explore essential tips and techniques that can help you reach the highest hatching rate possible. From selecting high-quality eggs to maintaining optimal incubation conditions, let's embark on a journey towards successful hatching.
1. Source and Select High-Quality Eggs

The foundation of a high hatching rate lies in acquiring high-quality eggs. Here are some key points to consider:
Reputable Suppliers:
Obtain eggs from reputable sources, such as trusted breeders or hatcheries. They often have strict quality standards and provide eggs that are more likely to have a high hatch rate.
Egg Size and Shape:
Select eggs of appropriate size and shape. Eggs that are too small or misshapen may have lower fertility rates or difficulties during the incubation process.
Freshness:
Fresh eggs have higher chances of successful hatching. Preferably, select eggs that are less than one week old, as the chances of fertility decrease over time.
2. Proper Egg Storage
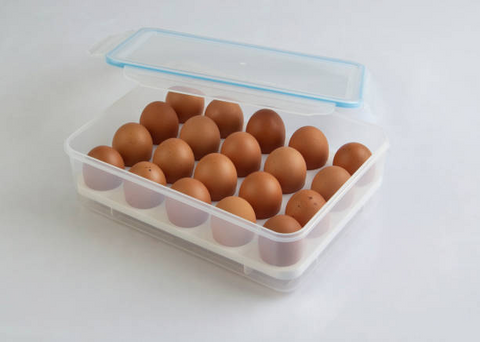
Appropriate egg storage conditions are crucial for maintaining fertility and improving the chances of successful hatching:
Temperature and Humidity:
Store eggs in a cool and dry environment with temperatures around 50-60°F (10-15°C) and a humidity level of 70-75%. Avoid refrigeration, as it can negatively affect embryo development.
Egg Positioning:
Keep the eggs upright or slightly tilted in an egg storage container. This prevents the yolks from sticking to the shells, preserving their quality.
3. Incubator Preparation
The incubator should be properly prepared before starting the incubation process:
Cleanliness:
Thoroughly clean and disinfect the incubator to prevent the spread of bacteria or diseases. A sterile environment provides optimal conditions for successful hatching.
Temperature and Humidity Control:
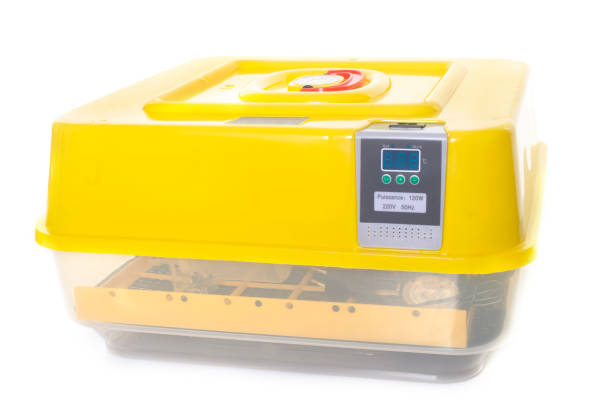
Calibrate the incubator's temperature and humidity levels according to the specific requirements of the eggs you are incubating. Use a reliable thermometer and hygrometer to ensure accurate monitoring of these factors.
4. Egg Handling and Positioning
Proper egg handling and positioning within the incubator are essential for optimal development and hatchability:
Turning:
Regularly turn the eggs from side to side to prevent the embryos from sticking to the inner shell membrane. This promotes the even development of the embryos and prevents deformities.
Egg Positioning:
Place the eggs with the pointed end slightly downwards. This helps the air cell to develop properly and facilitates the positioning of the embryo within the egg.
5. Monitor and Adjust Incubation Conditions
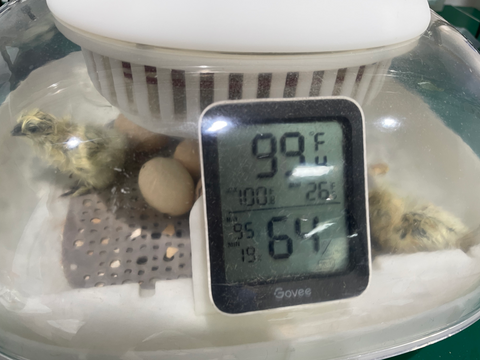
Achieving the highest hatching rate requires diligent monitoring and adjustment of incubation conditions:
Temperature:
Maintain a consistent temperature throughout the incubation period. For most common poultry eggs, a temperature range of 99-101°F (37-38°C) is recommended. Avoid sudden fluctuations, as they can negatively impact embryo development.
Humidity:
Proper humidity levels are crucial for successful hatching. Different eggs have varying humidity requirements, so consult a specific hatching guide or expert advice for accurate recommendations. Adjust humidity levels as needed, especially during the final days of incubation when humidity plays a crucial role in hatching.
Ventilation:
Ensure proper ventilation within the incubator. Sufficient airflow helps provide fresh oxygen to the developing embryos and removes excess CO2 and moisture.
6. Patience and Avoiding Interference
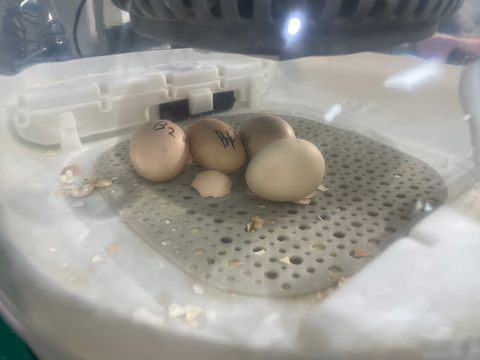
Resist the urge to interfere excessively during the incubation process:
Minimize Disturbance:
Resist the temptation to constantly check on the eggs, as excessive handling can disrupt the natural incubation process. Limited disturbance creates a stable environment for embryo development.
Avoid Overcrowding:
Do not overcrowd the incubator, as it can negatively affect air circulation and temperature control. Give each egg sufficient space for optimal development.
7. Candling and Monitoring Development

Candling, the process of holding eggs against a bright light source to examine the development of the embryos, is a useful technique during incubation:
Candling Schedule:
Regularly candle the eggs to monitor their development and detect any abnormalities. A common schedule is to candle the eggs on days 7, 14, and 18 of incubation.
Removing Unviable Eggs:
Remove any eggs that show signs of infertility or abnormal development during the candling process. This prevents potential contamination and allows for better resource allocation to viable eggs.
Reaching the highest hatching rate requires careful attention to multiple factors throughout the hatching process. From selecting high-quality eggs to maintaining optimal incubation conditions and monitoring embryo development, every step plays a crucial role in maximizing the chances of successful hatching.
Remember, each species and breed may have specific requirements, so it's important to conduct thorough research and consult experts or breeders for accurate guidance. With patience, dedication, and proper care, you can greatly increase the likelihood of a successful hatching experience and welcome adorable chicks into your poultry flock. Happy hatching!
Leave a comment
All comments are moderated before being published.
This site is protected by hCaptcha and the hCaptcha Privacy Policy and Terms of Service apply.